miro TrackIt
Functions
1. General Overview and Information
The miro TrackIt device is a powerful and flexible GNSS tracking device that integrates a multistandard GPS scanner and passive Wi-Fi MAC address scanner with Bluetooth 5.2 connectivity and various sensors such as accelerometer, humidity and temperature sensor, into one compact device. The IP65-rated housing with different mounting options prepares the device for operation in a harsh industrial environment.
1.1. Device Initialization and Tracking
This overview shows in general the procedure after start-up. In the first step indicated by a short tone, the device starts to run BLE for 30s (update window) to be able to do firmware and almanac updates via App.
After closing this window, the device starts to join to the LoRaWAN network by playing a long tone each join trial. If a network connection is established, the device will play a melody and start to track the asset.
If the connection trial fails, the device will retry the join attempt dynamically. Dynamically means, that the device will start to retry in different intervals. This approach is split into 5 possible cases. In each case, the device will retry to join according to Retry Timeout. If a connection could not be establish during the case specific Case Timeout time, the device will change the mode to the next higher one, except the last mode 5.
Case |
Retry Timeout |
Case Timeout |
Mode 1 |
1 minute |
15 minutes |
Mode 2 |
15 minute |
45 mintues |
Mode 3 |
Hour |
24 hours |
Mode 4 |
Day |
7 days |
Mode 5 |
Week |
- |
| If the device reaches the case Mode 5, it will stay in this case until a LoRawan connection is established. Hence, there are no further interval or timeout updates. The device will weekly try to join the network. |
Asset Tracking
The device will track the location periodically after a steady time. If the device is set in motion, it will use a shorter movement time to track the asset periodically. If the motion stops, the device will use the steady time again. In between those periodically tracking intervals the device will enter the sleep mode which is the lowest possible power mode.
| All mentioned device tracking time periods are adjustable. Consider the documentation. |
The device tracks the location with Wi-Fi and GNSS scans and sends the collected data through a gateway to a backend sever. The location is generated by GNSS data and if not available/valid then Wi-Fi data. The server displays the location data on the Semtech LoRa Cloud website. Several devices can be covered with one gateway.
1.2. Device Reset
The device resets when a certain sequence of device position was matched. Reset the device with the following procedure:
-
Activate pattern matching state:
-
remove device from asset surface
-
hold it for 30 seconds
-
shake the device until it beeps
-
-
Apply the following three positions:
-
turn right
-
turn down
-
turn left
-
The video clip shows an example how to reset the device:
| The device will beep after each matched position. |
2. Device Configurations and Updates
2.1. Device Parameters
All device settings are fully configurable over the Semtech LoRa Cloud website.
Read more information about the uplink and downlink payload structure here.
| The device must be joined to the LoRaWAN network in order to change the device settings. |
2.2. Firmware Update
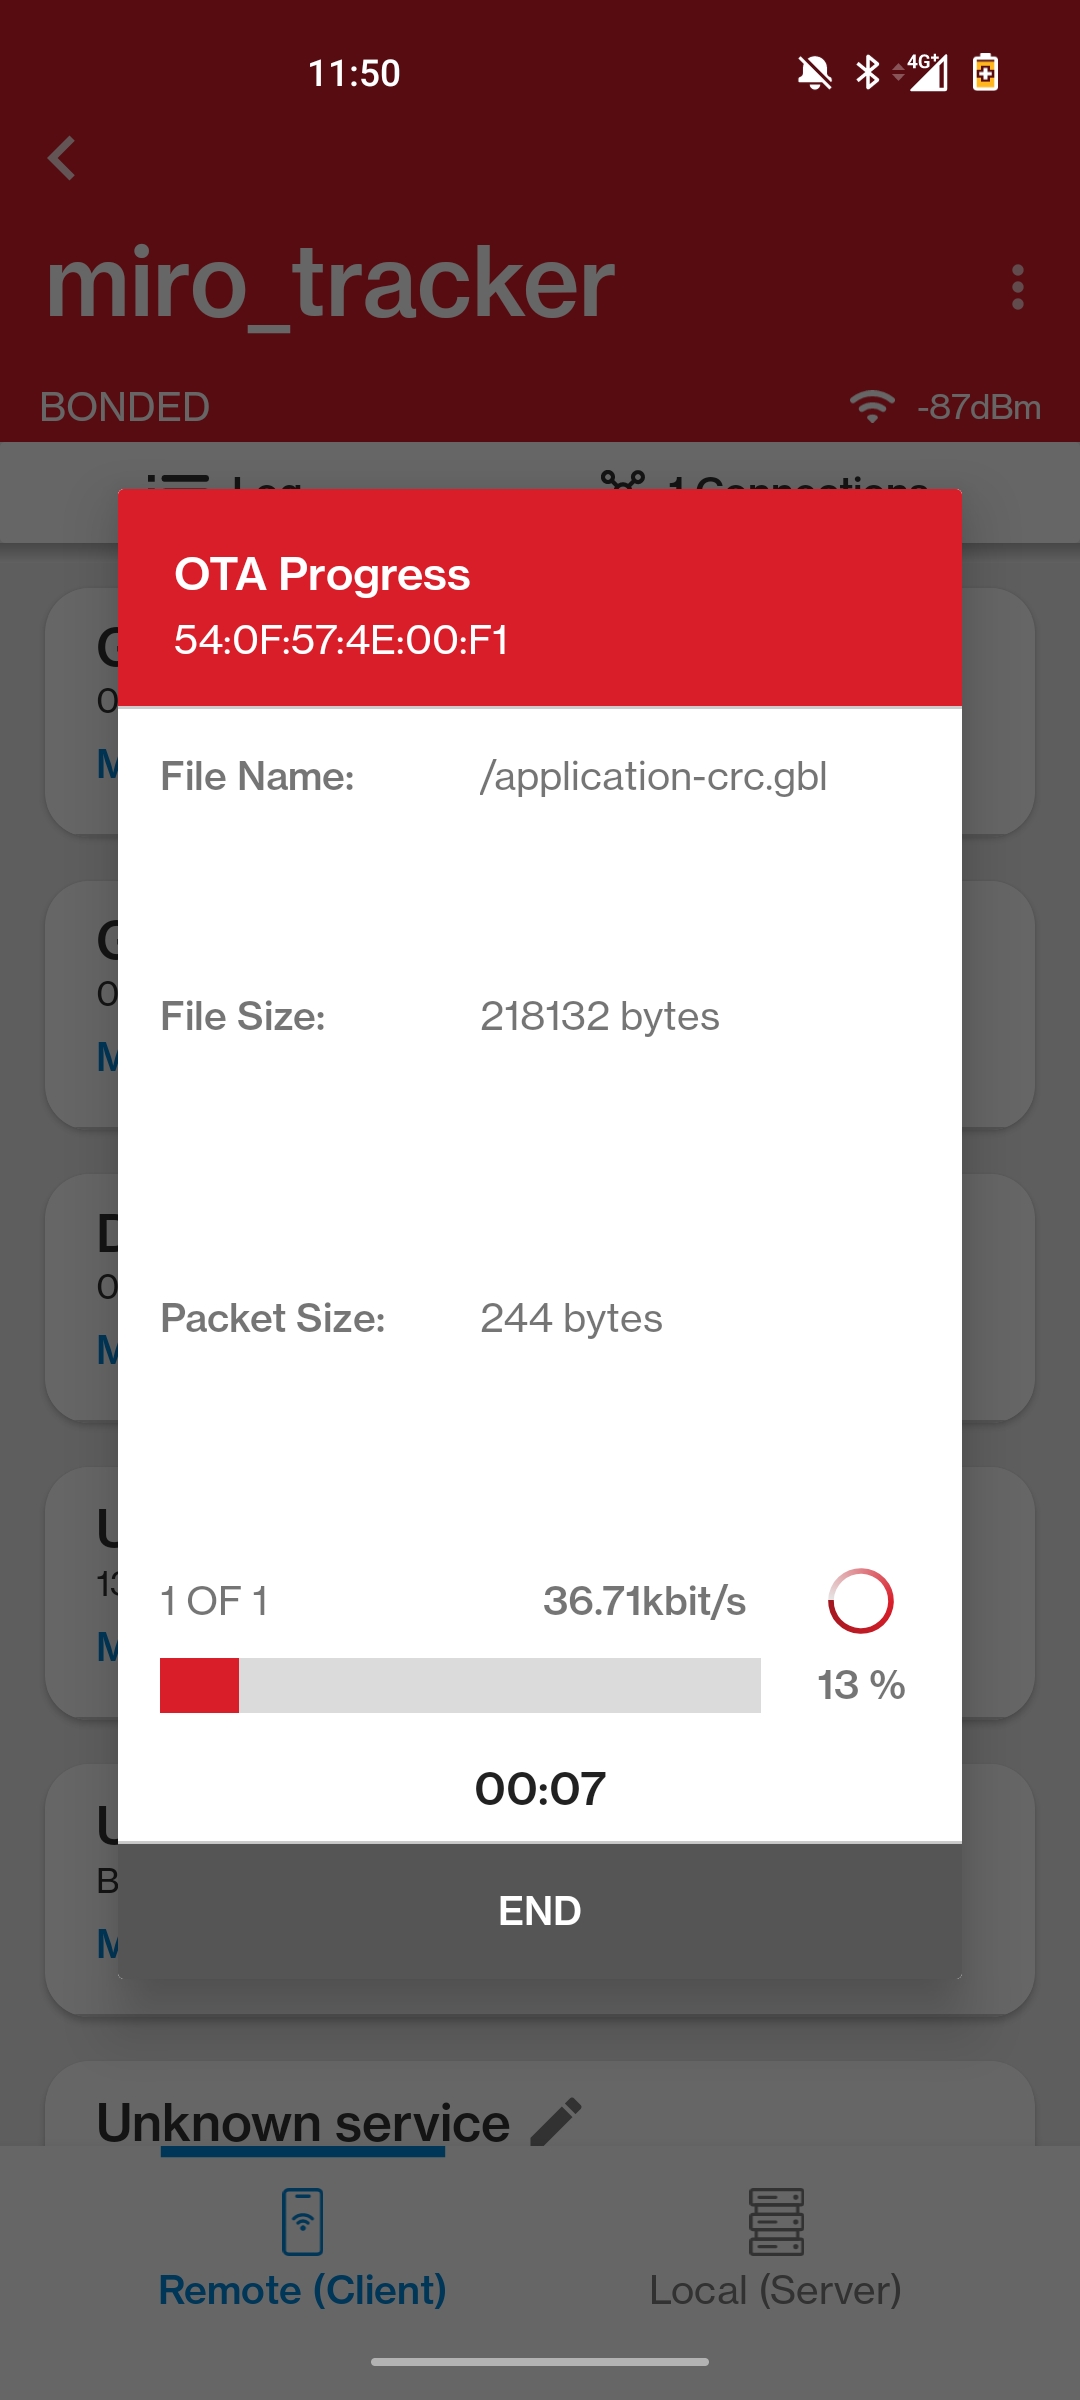
In order to do a firmware update, the device must be resetted. After a successful reset, the device will enter a 30s interval where a firmware update is possible. During this time period, a connection with the EFR Connect App has to be established in order to execute the update.
Compatible App Versions:
Apple Devices |
Android Devices |
Version 2.5.0 |
Version 2.5.0 |
| The EFR Connect App version must be compatible with the version from the table for successful firmware update. |
Firmware:
Firmware Version |
File |
Version 1.0.0, EU868 |
|
Version 1.0.0, US915 |
Update Procedure
-
Download the Firmware
-
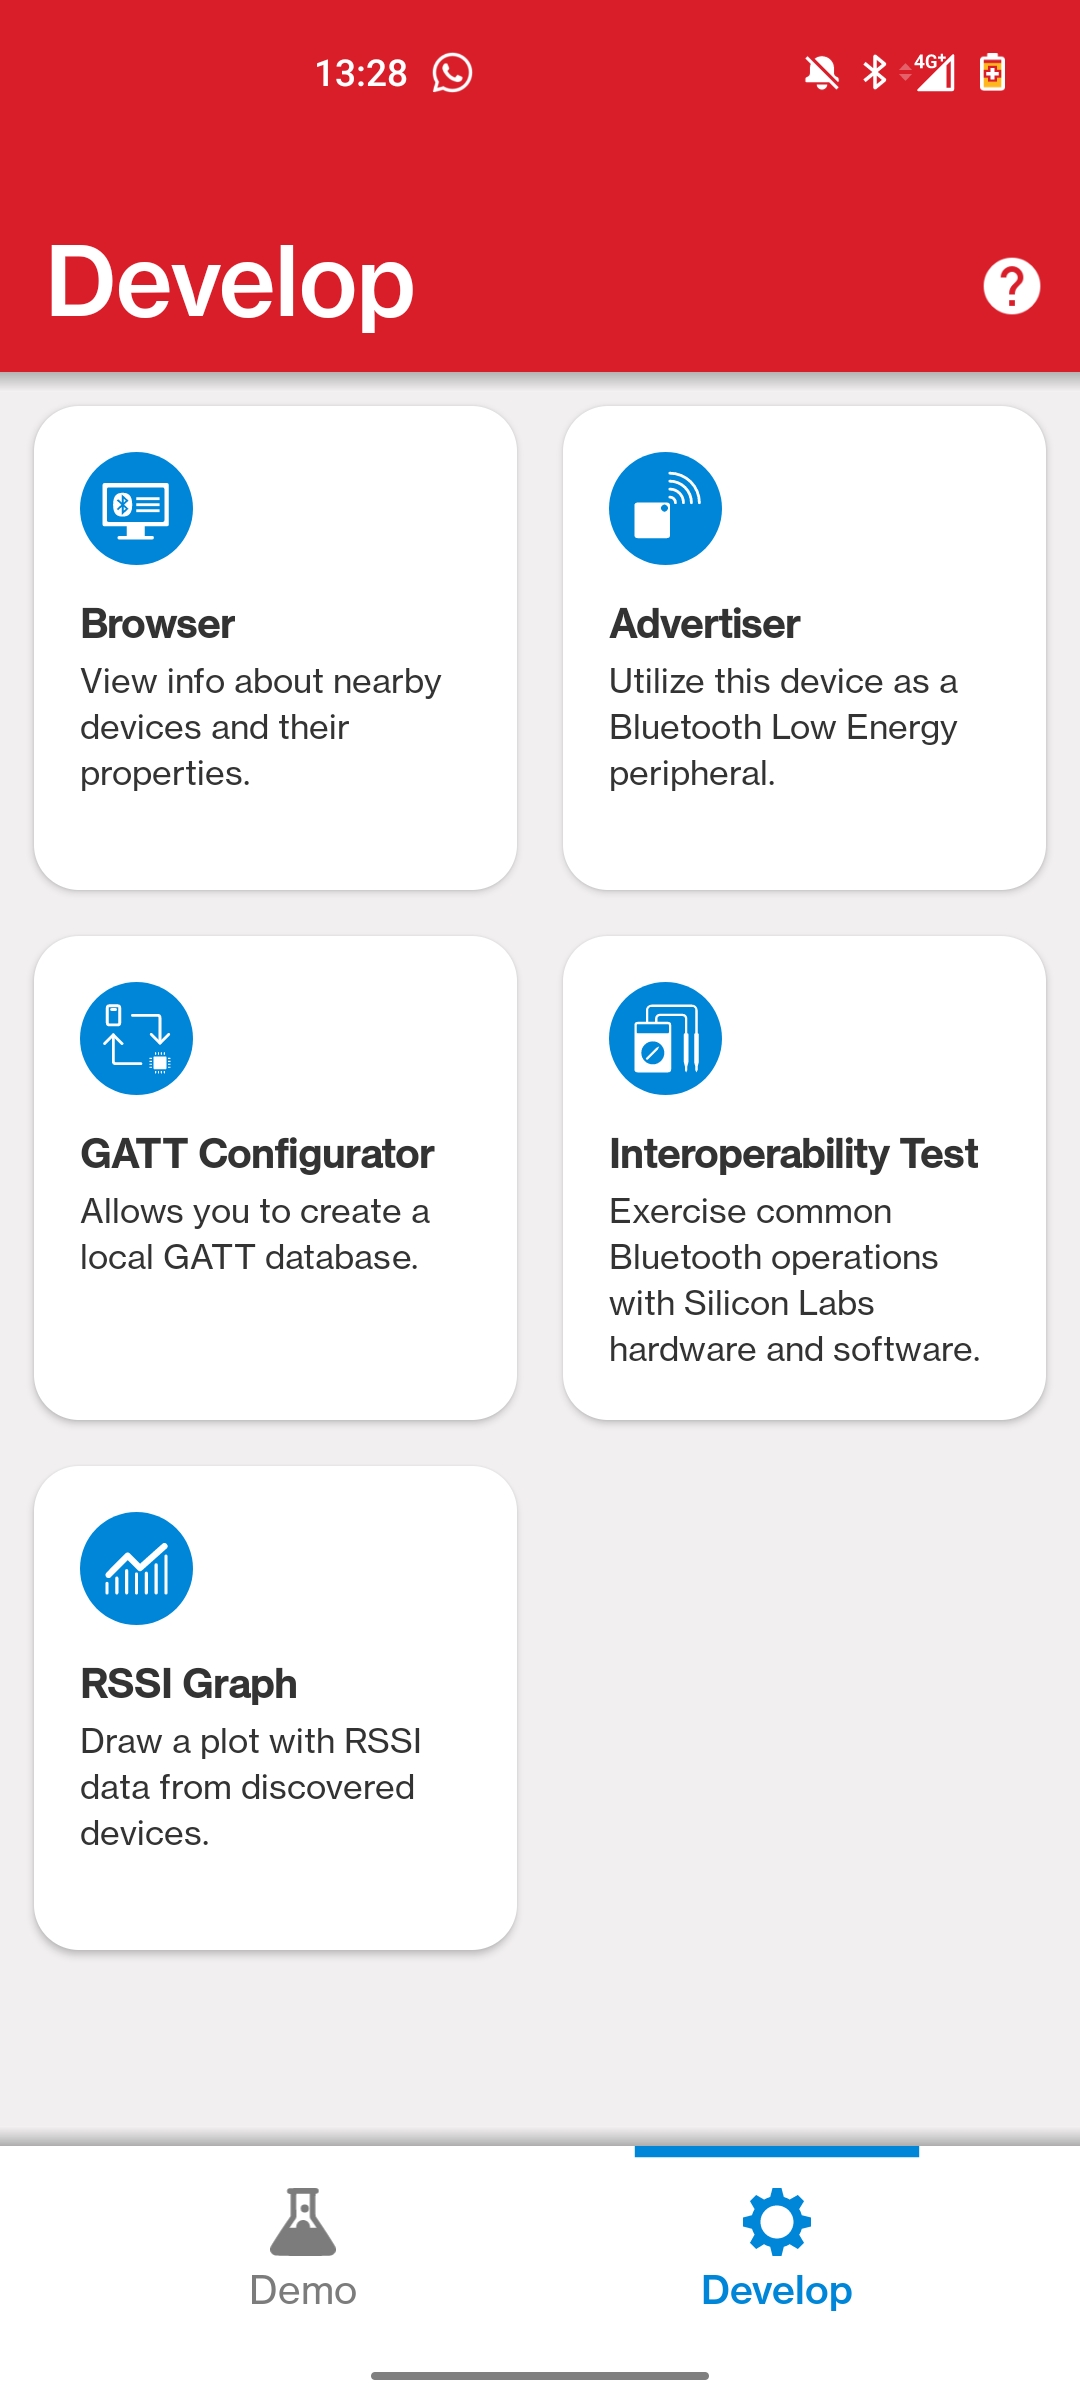
Open the EFR Connect App and select "Browser"
-
Select "Start Scanning"
-
Select "miro_tracker" and press "Connect"
-
Select the 3 stacked points in the upper right corner
-
Select "OTA DFU"
-
Click on "Select application .gbl file"
-
Chose your downloaded miromico firmware file
-
-
Select "Reliability" or "Speed"
-
Press on "OTA" in order to execute the firmware update

-
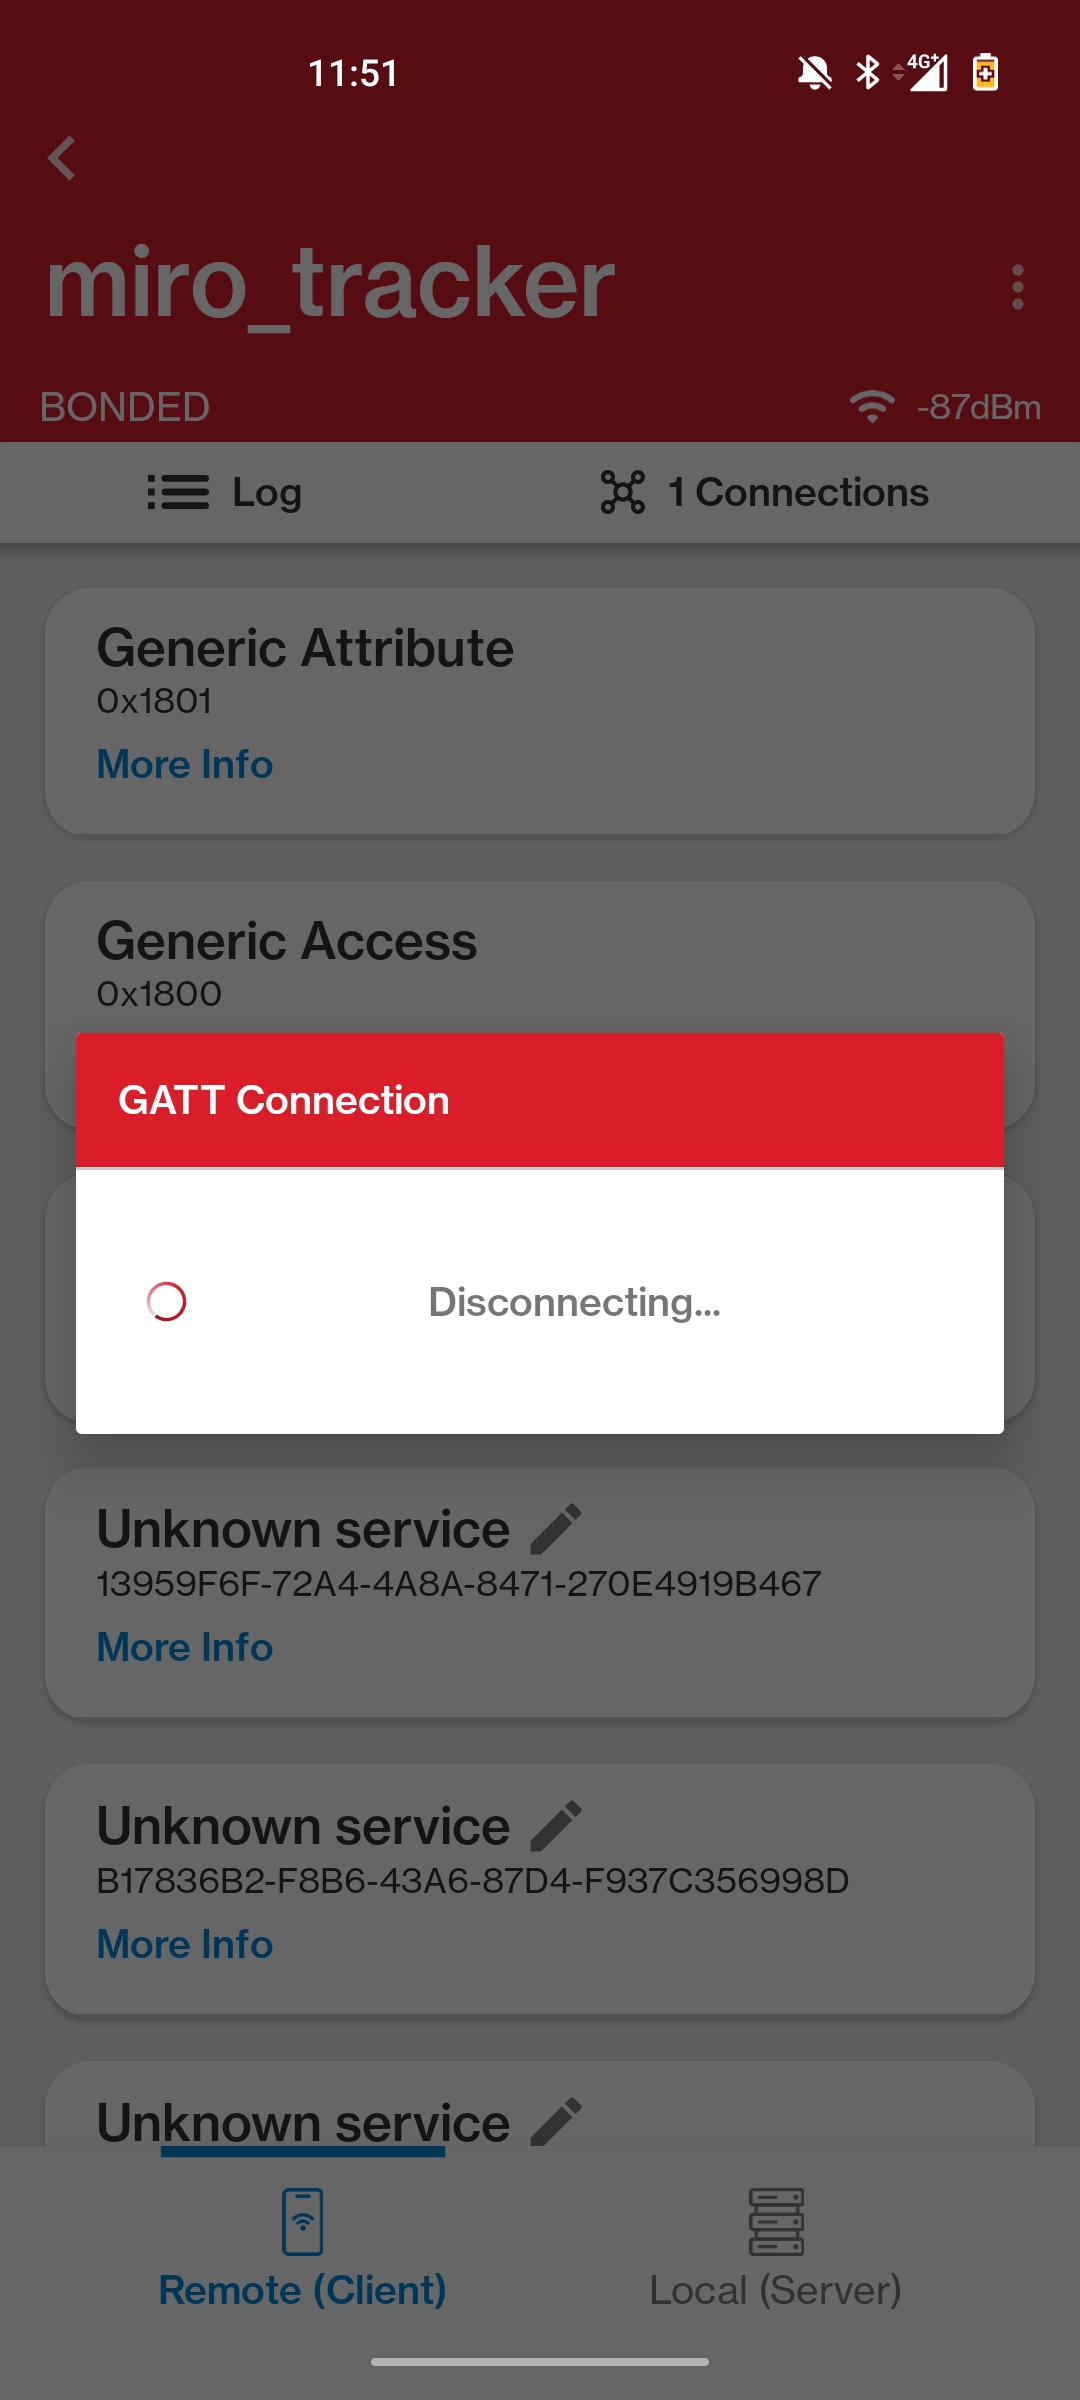
If the update is successfully executed, press the "END" button to close the connection

-
Close the application
