miro
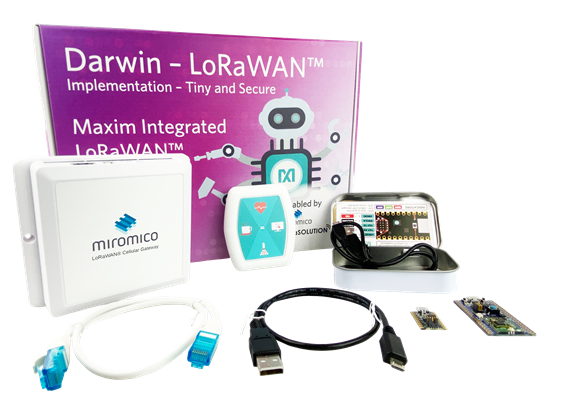
STK FMLR Maxim SX1261
Starter Kit Quick Start Guide

-
miro Edge (gateway)
-
miro Click (iot button)
-
miro Alarm (alarm device with LED and buzzer)
-
EVK FMLR Maxim SX1261 (FMLR-61-P-MA626)
-
Instant Demonstration
-
Instant Development
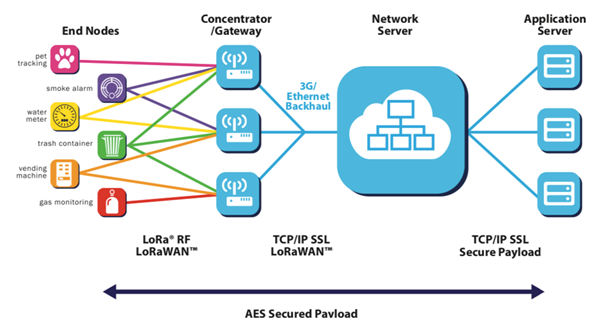
But first let’s have a look at a simple LoRaWAN® Network.

End nodes are connected over a radio link to gateways. The gateways are connected over the internet to the network server. The network server is connected to an application
| Handle the power plug of the gateway with care. In case of improper use, it the plug may break. A potential risk of electric shock may occur. In case of breakage, make sure to never touch open leads. Miromico does not assume any direct or indirect responsibility in case of improper use of the plug. |
1. Instant Demonstration
1.1. Setting up your system
-
Connecting the gateway
-
Plug the nework cable from your local network into your gateway.
-
Plug the USB power cable from the USB power supply.
-
-
Powering up miro Click
-
Insert the two AA batteries into miro Click.
-
A short sequence of beeps indicate the start-up.
-
A longer sequence of beeps indicate the successful join to the LoRaWAN® network
-
If miro Click was not successful, it retries after a while.
-
-
Powering up the miro Alarm
-
Plug the USB cable from the USB charger
-
The device starts to breath with a white color
-
A green flash of the light indicates a successful join to the LoRaWAN® network
-
1.2. Run the Demonstration
-
Press a button on miro Click
-
A short beep indicates the button press
-
A short higher beep indicates the successful sending
-
A longer lower beep indicates a fail
-
-
Observe miro Alarm
-
The light changes according the button press: blue, red, green, off
-
1.4. Activate your account:
Navigate to your dashboard: https://maxim.tesenso.io/login
-
username: your e-mail
-
password: your password
1.5. Claim your devices
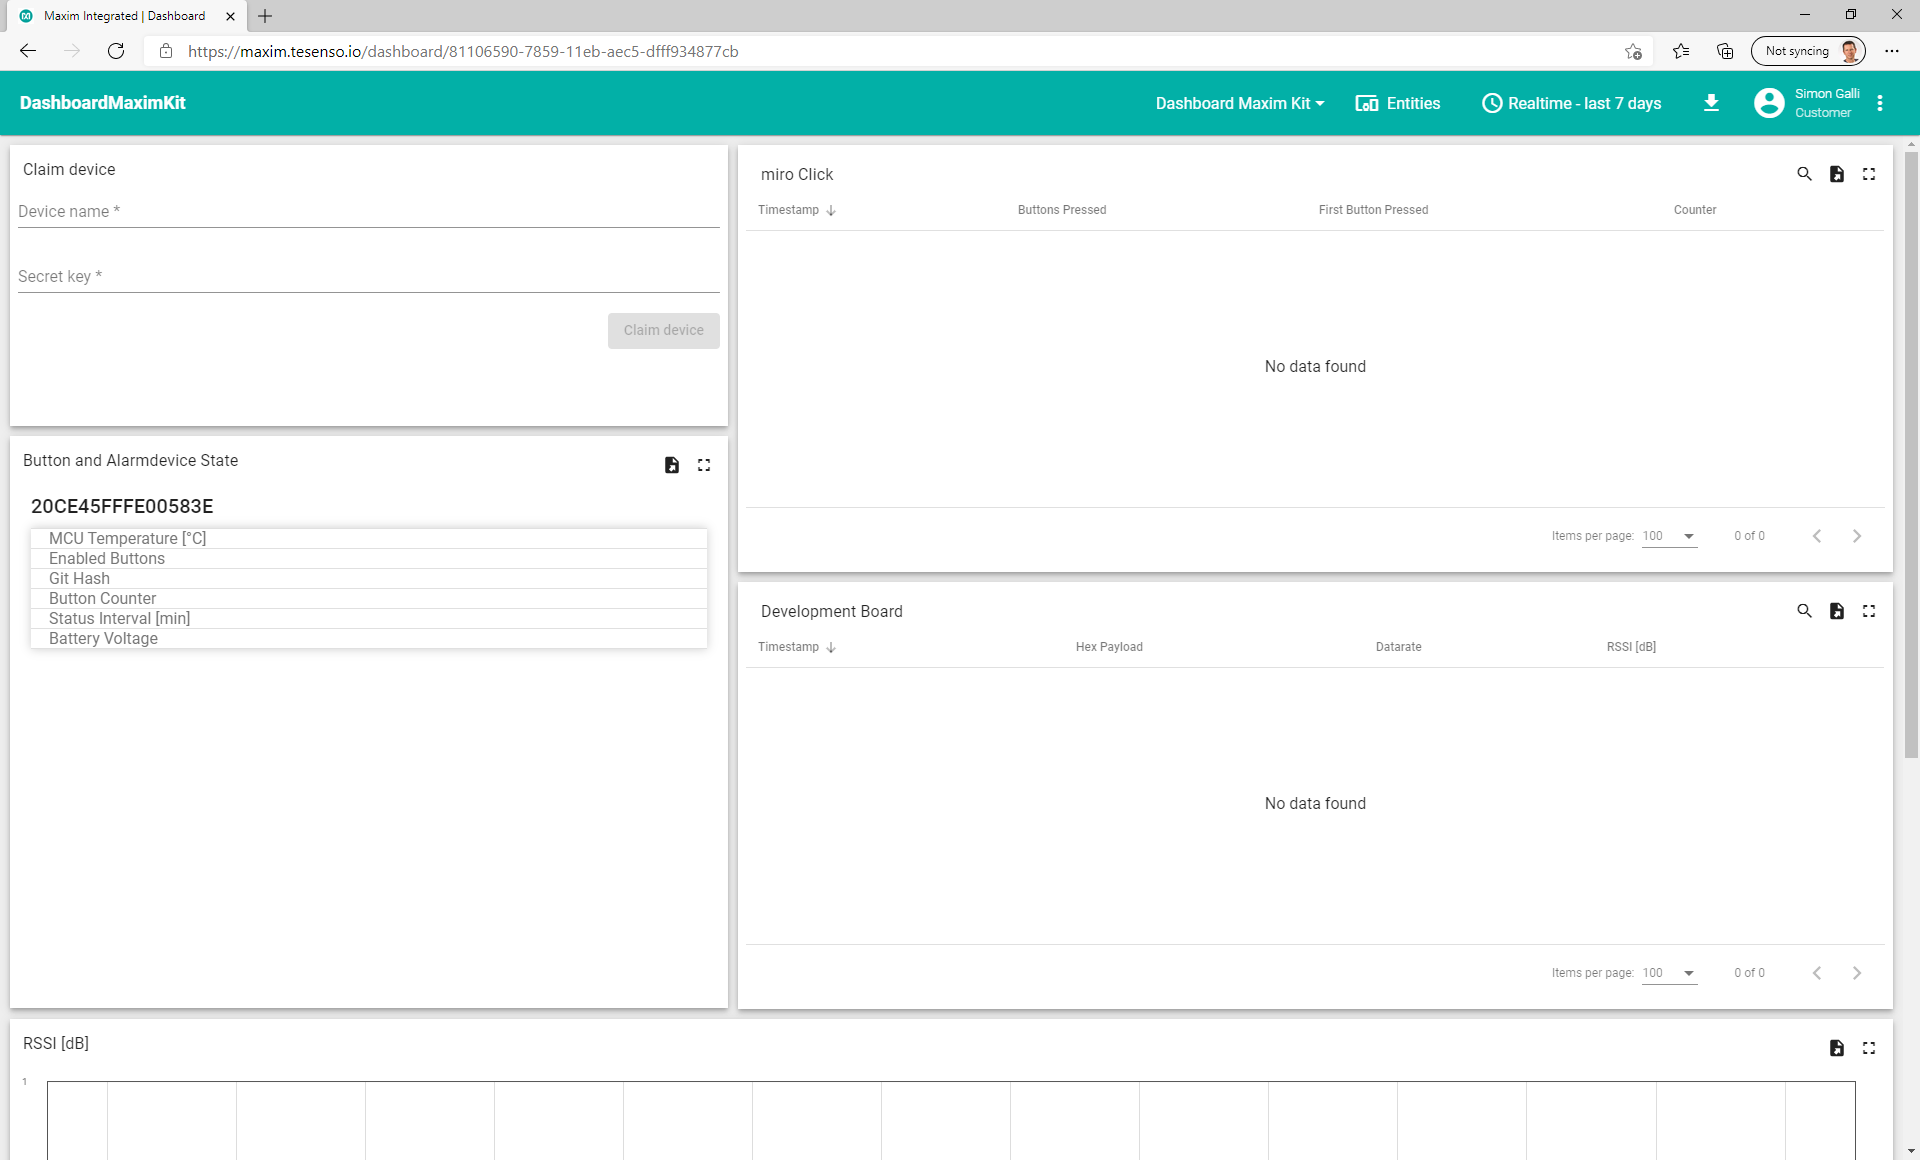
Before you can see your devices in the dashboard, you need to claim them. In the left top corner of the dashboard you can claim your devices one by one.
-
username: Dev EUI in capital letters
-
password: Secret Key
The Device EUI is found on each device. It’s 16 character long.
The Secret Key is provided on the flyer of your StarterKit. It’s format is: xxxxxxxx-xxxx-xxxx-xxxx-xxxxxxxxxxxx
It’s the same Secret key for all your devices.

Note: the Dev EUI of the gateway can be derived from the MAC address in the following way: Take the first 6 letters from the MAC address, insert FFFF, append the last 6 letters from the MAC address.
1.6. Your IoT dashboard
On your IoT dashboard you can see the messsages coming in from your miro Click. That’s where the "Things" meet the "Internet" :=)

2. Instant Development
You can start developing your LoRaWAN sensor code using the Development Board and the Quickstart Guide at:
www.miromico.ch/portfolio/fmlr_maxim/?lang=en
-
Connect your EVKit to USB power and to your debugger probe
-
Get the latest LoRaWAN code and ARM toolchain
-
Build the bootloader and the application
-
Download the binaries using your debugger probe
The example project runs Semtech’s LoRaWAN implementation on a Maxim MAX32625/6 microcontroller. It joins the server and sends uplinks regularly using the LoRaWAN® MUX.
Now you are all set and ready for the "internet of things"! Your LoRaWAN® StarterKit Team